|
(Click any image for a larger view.) |
|
|
Six of us took part in an advanced avalanche course put on by the U of C, Outdoor Program Centre.
Stefan Price was the Instructor and Guide for: Dominik Modlinski, Yehudi Fleising, Lanice Jones, Rona Fluney, Roy Scarisbrick,
& Carol Guthrie.
Many of the descriptions for the snowpack
assessment were taken from the Backcountry Avalanche Awareness book written by
Bruce Jamieson and published by the
Canadian Avalanche Association. |
 |
|
|
|
|
|
|
|
Day 1
Our first day started at the University Research Center in Kananaskis. We
spent the morning in the classroom discussing Formation and Nature of
Avalanches, Avalanche Terrain, Snowpack, and how to recognize
Avalanche Dangers.
Then it was off to Black Prince to work on route finding skills and slope
assessment. |
|
|
 |
|
Heading out from Black Prince parking lot (Sorry, no other pictures from
Day 1) |
|
|
|
|
|
|
|
Day 2 - Burstall Pass
We started the day with a beacon search in
the parking lot. |
|
| |
| |
|
 |
|
Roy, closing in on the transceiver. |
|
|
 |
|
Stefan demonstrating the speed and technique necessary to find a victim. |
|
|
|
|
|
|
|
 |
|
After skiing across the flats and along the lake we stopped for a quick
snack before climbing up the headwall to Burstall Pass. |
|
|
 |
|
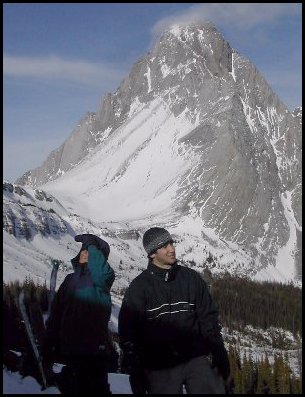
Looking back down the valley
towards
Snow Peak, Mt. Birdwood, Pig's Tail and Commonwealth Peak. |
|
|
|
|
|
|
|
We took turns route finding on the
way up and assessing the terrain we were coming into. After climbing up
safety through the trees we found a spot to dig a pit and do some snow
analysis.
Test Profile
We found a slope in a safe spot that would represent the type of terrain
we intended to ski.
Probing the site will determine if there are bushes or large rocks which
might make the pit misleading.
Pits for profiles should be dug with one smooth wall across the fall
line.
Dig deeper than any suspected weak layers or to ground level.
Several quick profiles at different locations usually provide more useful
information than one detailed profile. |
|
|
|
|
|
|
 |
|
Here, Stefan is digging a pit while the rest
of us look on. |
|
|
 |
|
Stefan using his fingers to determine the different layers in the snow. |
|
|
|
|
|
|
|
Strong and weak layers in the pit can be detected by poking the exposed layers by hand,
by brushing, or by sliding a finger or ruler up and down through the layers
and noting the changes in resistance. By first using a brush and sweeping
the face of the pit Stefan pointed out the different layers in the snow.
Then Stefan demonstrated using a fist, four fingers and then one finger to
determine the strength of the snow pack and find the weak and strong layers. |
|
|
|
|
|
|
Shovel Shear Test |
|
 |
 |
|
A column of snow is exposed and then a shovel is used to pull on the column
until a weak layer "shears" away. The test works best when the
layers to be tested are 5-10 cm (2-4") below the bottom of the shovel.
The force applied to the shovel that cause a weak layer to shear can be
rated as either very easy, easy, moderate or hard. The
shovel test gives only a very rough indication of the strength of the weak
layer at the test site. |
|
|
Burp Test |
|
 |
|
To test for weak layers near the top of the snowpack, pick up the top 30-40
cm (12-16") of the column on your shovel and tap the bottom of the
shovel with your hand, gently at first, then harder Weak layer within the
snow block will show up as smooth failures. |
|
|
|
|
|
|
|
Snow Kit |
|
 |
 |
 |
|
Yehudi with the snow kit to assess the snow crystals. |
Lanice and Dominik looking at snow crystals. |
|
|
|
|
|
|
Surface Hoar If the sky is relatively clear and the wind is light, it
only takes one or two cool nights to form a beautiful layer of sparkling
frost called surface hoar on top of the snow pack. When the surface hoar is
buried by subsequent snowfalls, it will form a weak layer that can reduce
snow stability for weeks, and sometimes a month or more.
Faceted Snow Where the snow pack is thin (less than a metre or 3
feet) a week of cold temperatures may weaken snow layers noticeably. The
resulting layers of faceted crystals or depth hoar may remain weak for a
month or more. A thin weak layer of facets, which sometimes forms just above
or below a crust, may be more sensitive to triggers than a thicker and
easier to find weak layer such as depth hoar. |
|
|
|
|
|
|
|
|
|
|
|
|
Rutschblock Test - This test provides a better indication of slab stability
than the shovel test, but it is slower and can only be done on slopes of
25degrees or more. Although the rutschblock is a good stability test, it is
not definitive. The results of other tests and observations should be
considered before deciding to enter avalanche terrain.
Using the same pit as the one used for the snow profile we used a cord to
cut the rutschblock. The tail of a ski or snowboard can be used also. The
front face of the profile is about 2m wide with 2 probes placed back about
1.5m from the front. |
|
|
|
|
|
|
 |
|
Stefan placing his probe in the snow for the back of the
Rutschblock. |
|
|
 |
|
1.
digging or sawing block
A cord with knots tied in it was placed around the probes
and then using a sawing action, was pulled back and forth to cut down the
sides of the block. |
|
|
|
|
|
|
|
Rutschblock Loading Steps and Interpretation of Results
from Backcountry Avalanche Awareness book |
|
Loading Step that causes block to move |
Interpretation |
1. digging or sawing the block
2. gently approaching or standing across the block
3. pushing downwards by dropping from straight legs to bent knees |
Similar slopes should be considered "unstable for skiers or
snowboarders" |
4. first jump with skis/board
5. second jump onto compacted spot |
Similar slopes should be considered "suspicious:.
Proper route
selection and safety measures are essential. |
6. if the slab is soft, step down 35 cm (14") and jump 3 times; if the
slab is hard, jump without skis or board
7. block does not slide cleanly |
Low risk of skiers/boarders triggering slabs on similar slopes |
|
|
|
|
|
 |
|
2. Lanice stepping onto block |
|
|
 |
|
3. dropping knees |
|
|
 |
|
4 & 5. first jump and second jump |
|
|
|
|
|
|
|
 |
|
Whoops, some minor difficulties |
|
|
 |
|
6. stepping
down 35 cm and jumping three times |
|
|
 |
|
7. Stefan has a couple of goes and finally
gets it to collapse, but not cleanly |
|
|
|
|
|
After completing all the tests it was decided that the
slope was safe and it was time to ski. |
|
|
|
|
|
 |
|
Dominik & Roy |
|
|
 |
|
Rona & Yehudi |
|
|
 |
|
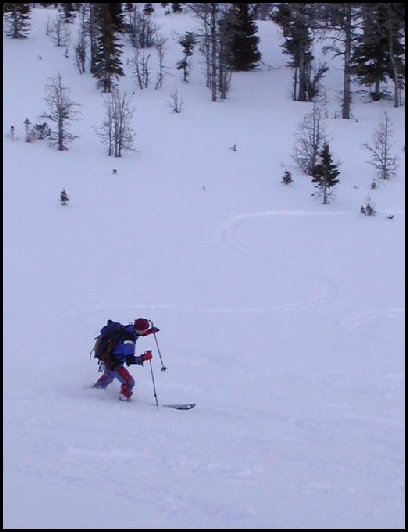
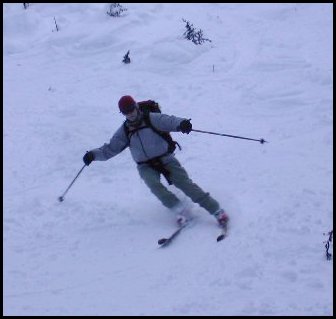
Skins are off and the crew is ready to crank
some turns. |
|
|
|
|
|
|
|
|
|
|
|
|
|
 |
|
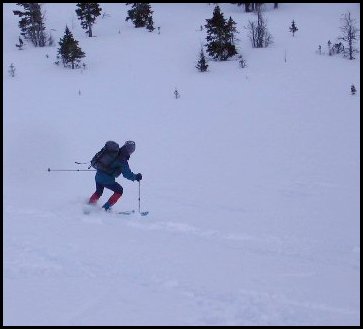
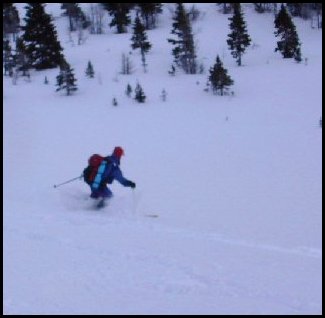
Roy |
|
|
 |
|
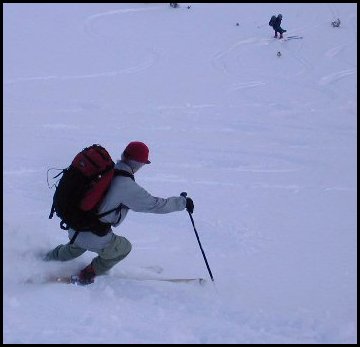
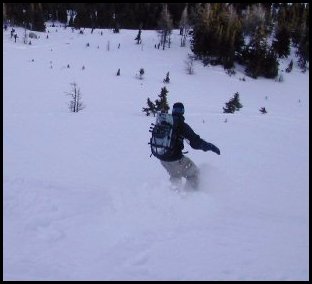
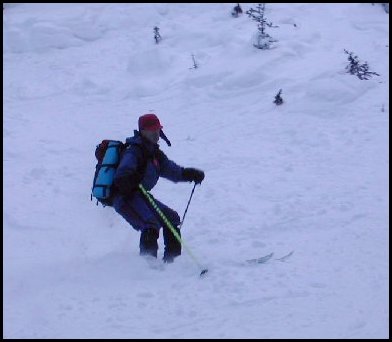
Yehudi |
|
|
 |
|
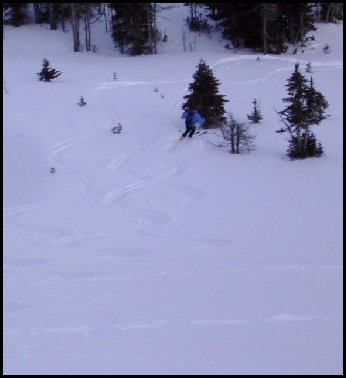
Stefan (in front of tree) was too fast for the
camera person. |
|
|
|
|
|
|
|
 |
 |
 |
|
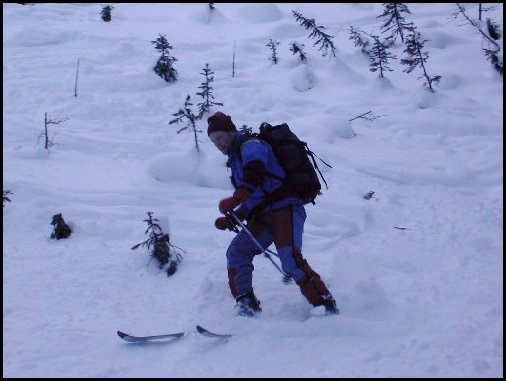
Dominik, Lanice and Roy on the outrun. |
|
|
|
|
|
|
|
End of Day 1 and 2: go to Day 3... |
|
|
|
|
|
|